Start here · a little extra help
Match edges before sewing
A seam is the line that joins two pieces. Lay the squares out in their final order before joining them, with the intended outside faces identified. Compare the number of stitches or spaces on each edge so one piece does not have to stretch to fit the other.
Right side means the face intended to show, not the side on your right hand. Pin or clip matching corners, then join a little at a time. A join should hold the pieces together without pulling them into a ridge unless that raised ridge is part of the design.
Your small practice goal
Join two practice squares first. Put them flat on the table and check that the seam bends comfortably.
Picture it
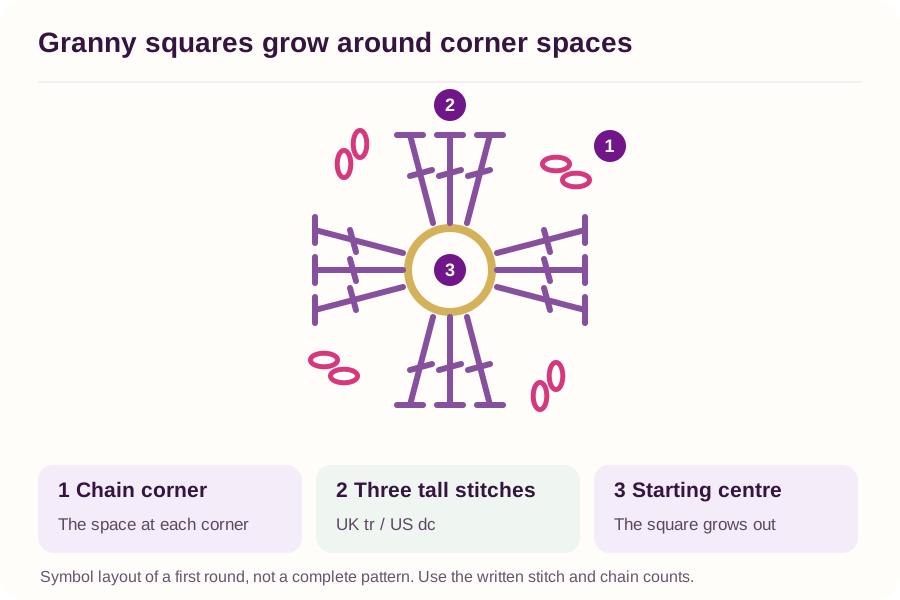
Select the diagram to open it at full size. Use the written steps for the actual hook movements.
Words you’ll meet
No need to memorise these. Keep them nearby and look up a word whenever you need it. This guide uses UK names, with US equivalents explained.
Open the plain-English word guide · 6 terms
UK dc / US sc
UK double crochet is called single crochet in US patterns. They are the same short stitch.
Yarn tail
A loose end left at the start, finish or colour change. It needs to be secured inside the fabric.
Chain space · ch-sp
The gap beneath chains. Working into a space means entering the gap, not splitting a strand.
RS · right side
The face of the fabric intended to show. It does not mean your right-hand edge.
Blocking
A fibre-appropriate finishing method that helps fabric settle into its intended shape.
Repeat · rep
Do the stated group of instructions again, as many times as the pattern says.
Quick note: this guide uses UK crochet names. UK double crochet is US single crochet.
Plan the layout before sewing
Put the squares on a flat surface and take a photo of the arrangement. Check each side has the expected stitch count. If sizes vary, gently block compatible yarns first rather than stretching one square wildly to fit another.
A simple sewn join
- Place two squares together with the intended matching edges aligned. Clip or pin the corners and a midpoint.
- Thread a blunt yarn needle. For a simple whipstitch seam, pass through matching edge loops on both pieces, then repeat along the edge.
- Keep the spacing even and the yarn relaxed. Open the squares regularly to check the seam lies comfortably.
- Secure and weave the tails into the stitches rather than leaving a knot on the edge.
Want a different look?
A crocheted slip-stitch seam can create a visible ridge; a mattress-style sewn join can be less noticeable. Test two spare squares before choosing. Record which loops you use so all the seams in the project match.
Sources & further learning
Original Crochet By Micky practice notes. See the linked lessons for the underlying techniques.
Checked 24 October 2026. Written in UK terms, with US equivalents where useful. Follow a project's own stitch key if it differs. These are original explanations and practice exercises, not copies of the linked publishers' patterns.