Draw a route before adding yarn
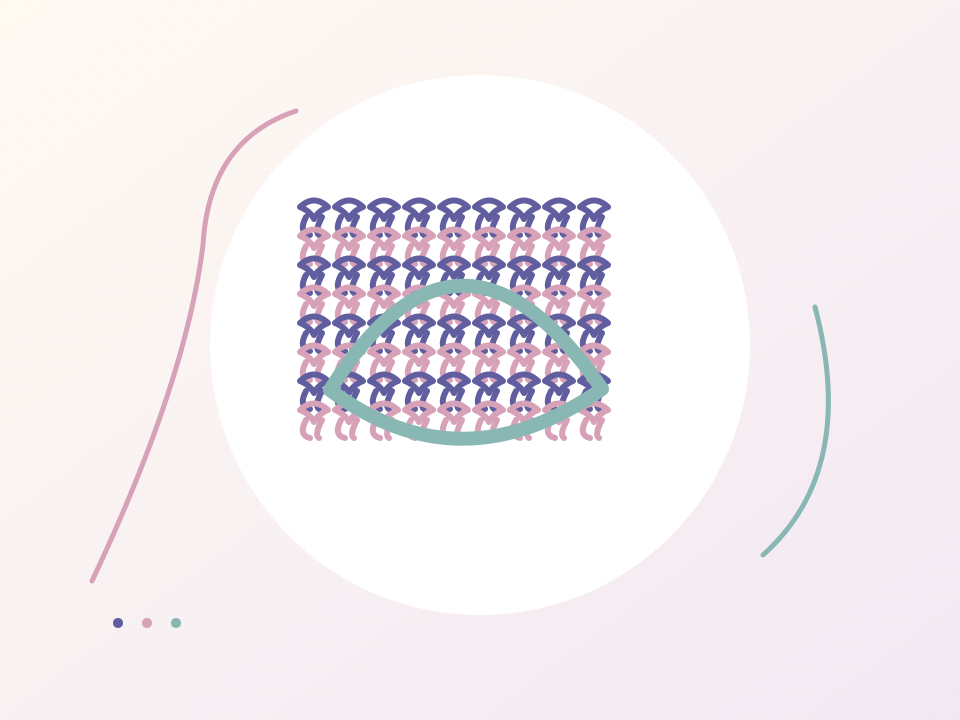
Choose a firm, plain swatch and lay a short piece of scrap yarn on it as a guide. Try a straight line or a broad curve first. A removable marker at the start and finish helps you keep the line where you intended. Surface crochet adds decoration; it is not a substitute for joining structural seams securely.
Bring a line onto the front
- Keep the new working yarn behind the swatch. Insert the hook from the front through a suitable gap and draw a loop of that yarn to the front, leaving a tail behind.
- Insert the hook through the next chosen gap. Catch the yarn behind the fabric and draw it through the fabric, then through the loop already on the hook.
- Repeat along the route. After a few stitches, lay the fabric flat and check that the new line has not gathered it.
Make a curve with position, not force
Choose the next insertion point to steer the line. Small changes in direction usually sit more naturally than pulling a tight stitch into a sharp turn. Avoid splitting the original yarn with the hook. If the line looks cramped, loosen the new stitches or use fewer closely spaced insertion points.
Finish on the reverse
At the end, cut a generous tail and pull it through the last loop. Draw the tail to the reverse through the fabric near the finishing point and weave it in. Secure the starting tail too. Inspect both sides and gently flex the swatch. A successful line lies on the surface without making the base buckle underneath it.
Words in this lesson
Surface crochet
Stitches worked onto the face of existing fabric.
Gathering
Fabric being pulled together by a line that is shorter or tighter than the area beneath it.
Notes & further reading
Original explanations and practice exercises by Crochet By Micky. UK stitch names are used; check the stitch key in any other pattern you follow.
Reviewed 25 October 2026. Cover artwork is an original illustration, not a third-party pattern or event photograph.