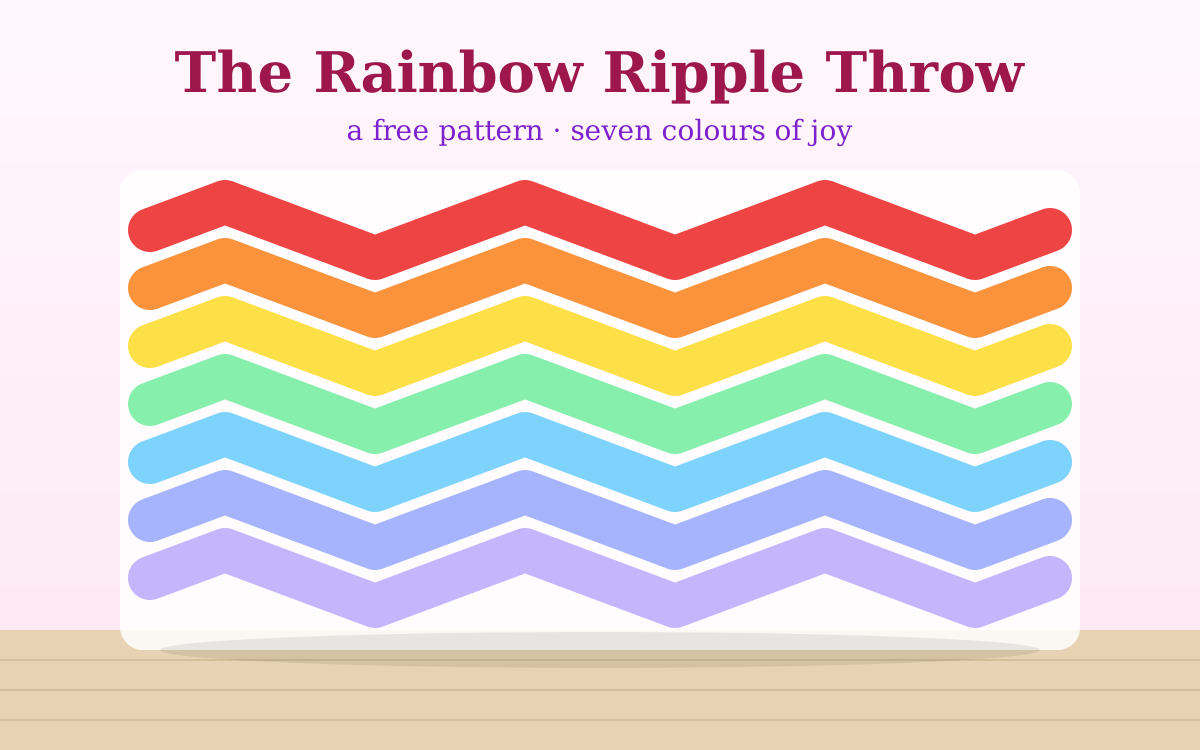
Picture the moment when heavy rain finally stops and the garden smells of wet earth and relief — and there, arching over everything, is a perfect rainbow. Now imagine capturing that exact feeling in soft chunky yarn, stitch by stitch, row by row, into a blanket big enough to curl under on the sofa with a hot chocolate. That is the Rainbow Ripple Throw: seven colours of joy, flowing in beautiful chevron waves from coral red all the way through to dreamy violet, with every ripple reminding you that something colourful and lovely is always just ahead.
The ripple stitch looks like something only an expert could make — but the secret is that it's really just a rhythm. Increase at the peaks, decrease at the valleys, change colour every two rows, and let the yarn do the talking. Once your hands learn the beat, it becomes almost meditative. This has become my absolute favourite winter project: put on a podcast, pick up the hook, and watch the rainbow grow.
What you'll need
- 🌈 Chunky (weight 6) yarn — approximately 100g in each of 7 colours:
Coral Red · Tangerine Orange · Sunshine Yellow · Meadow Green · Sky Blue · Soft Periwinkle · Lilac Violet - 🪝 6mm crochet hook (ergonomic recommended — your wrists will thank you for a long project)
- ✂️ Scissors and a yarn needle with a wide eye
- 📏 Stitch markers — at least 2
Finished measurements
Approximately 130cm × 90cm (51″ × 35½″) — a generous sofa lap blanket. To make it wider, add chains in multiples of 14 before you start.
Skill level
Beginner–Intermediate. You need to be comfortable with chain (ch), double crochet (dc), and the idea of increasing and decreasing. If you've made a granny square or a dishcloth, you're ready for this.
Abbreviations
- ch — chain
- dc — double crochet
- sk — skip stitch
- st(s) — stitch(es)
- 3dc-peak — work 3 dc into the same stitch (creates the chevron peak)
- 2dc-dec — skip 2 stitches (creates the chevron valley)
Foundation chain
With Coral Red, chain 131. This gives you 9 full ripples across the blanket plus neat edge stitches. The number needs to be a multiple of 14 plus 5 — so for 10 ripples, chain 145; for 8 ripples, chain 117.
The pattern
Row 1 (right side):
Dc in the 4th chain from hook and in the next 4 chains (6 dc total at the edge). * Skip 2 ch, dc in next 5 ch, work 3 dc in next ch (this is your peak — the bright top of the wave), dc in next 5 ch, skip 2 ch. * Repeat from * to * across, ending with dc in the last 6 chains. Turn.
Row 2 and all rows after (the rhythm row):
Chain 3 — this counts as your first dc. Dc in the next 4 stitches. * Skip 2 sts, dc in next 5 sts, work 3 dc in the next stitch (the peak — always the middle stitch of the 3dc group from the row below), dc in next 5 sts, skip 2 sts. * Repeat across, finishing with dc in the last 4 sts and into the top of the turning ch-3. Turn.
That's the whole pattern. Every single row is the same. The only thing that changes is the colour.
Colour sequence — work 2 rows of each:
- Coral Red — rows 1 & 2
- Tangerine Orange — rows 3 & 4
- Sunshine Yellow — rows 5 & 6
- Meadow Green — rows 7 & 8
- Sky Blue — rows 9 & 10
- Soft Periwinkle — rows 11 & 12
- Lilac Violet — rows 13 & 14
Repeat the full sequence 3 times for 42 rows total. Finish with a 4th Red–Orange–Yellow half-sequence (rows 43–48) if you want a longer blanket, or stop after the third Violet for a neat rainbow ending.
Colour changes — the clean way
Always change colour on the very last stitch of the row: insert hook, pull up a loop in the old colour, then pull the new colour through both loops to finish the stitch. Fasten off the old colour leaving a 15cm tail, and begin the new row with the fresh colour. This gives crisp, clean stripe edges.
Finishing
Weave in all the ends — there will be many! Take your time; a well-woven blanket will last for years. Then work one round of single crochet around all four sides in your final colour, placing 3 sc in each corner. Fasten off and weave in that final end too.
For an extra-polished finish, lightly mist the blanket with water and gently pull each chevron peak straight. Leave flat to dry — it transforms a slightly wavy blanket into something that looks absolutely professionally made.
"Every row of ripples looks slightly different as the light changes — in the morning it glows warm and orangey, at night under the lamp it turns deep and jewel-like. This blanket never looks the same twice, and that's exactly why I love it." — Micky
Micky's tips ✨
- Count every row. You should have the same stitch count at the end of every single row. Ripple stitch is unforgiving — one extra or missing stitch will throw your waves off completely. Count, count, count.
- Check your peaks and valleys. If your chevrons look flat or uneven, make sure you're always putting exactly 3 dc in the same peak stitch, and always skipping exactly 2 stitches in each valley.
- Keep a relaxed tension. Tight tension makes the edges curl up instead of lying flat. Let the yarn flow gently — don't death-grip it.
- Don't cut between colour changes if you can avoid it. If you're returning to a colour within a few rows, carry the unused yarn up the side edge by crocheting over it. Fewer ends to weave in!
Pattern by Micky. Free to make and give as gifts — please just don't sell mass-produced copies. If you make one, I'd absolutely love to see it! 💜